Zachary W. Huang
My First FreeBSD
May 11, 2026
FreeBSD has always been one of those things that seemed cool to me from afar, but I never really got the chance to try it out. That is, until now! Thanks to some cool alums from Caltech, I got my hands on some spare PCs that I can use for a project I’m working on.
I downloaded a FreeBSD ISO from the website, flashed it into a USB drive with Balena Etcher, and plugged it into my PC. But of course, no matter how experienced you are, installing a new OS onto a PC always finds a way of stretching out and taking hours on end…
Problem 1 - Display
The PC does not have an HDMI output port, but instead had multiple Displayport outputs. Unfortunately, I didn’t have any Displayport cables, and well I guess more importantly, my monitor only took HDMI and VGA as inputs. I tried plugging in a USB-C dongle with an HDMI output to what was supposedly a Thunderbolt port, but no dice.
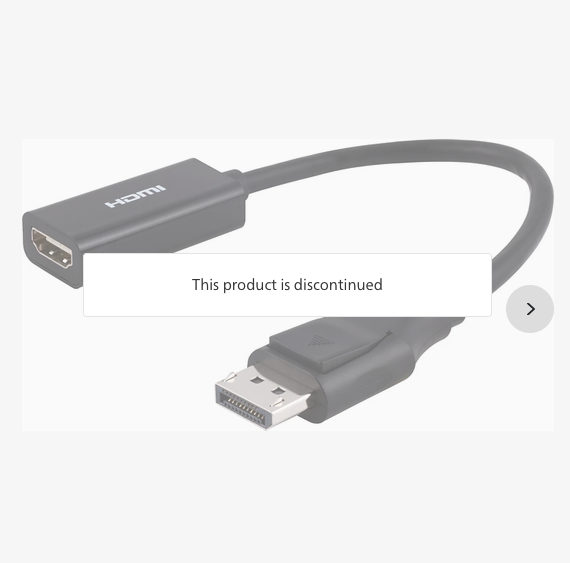
Ok, well, that’s not a huge problem. So I picked up a Philips Displayport to HDMI adapter from Target for $15. I plug it into the Displayport output, then connect it to an HDMI cable to my monitor. And… the screen is black. Nothing is showing.
At this point, I was debugging for like another hour. I knew the PC had Windows installed on it, and I was going to overwrite it with Linux, but I still need to make sure the monitor output worked so I could see the console during installation. When I plugged in / took out my USB flash drive, I could hear the internal speaker play the little Windows jingle for when a device is plugged in or removed. So I knew it was working, but I could not figure out if my monitor somehow broke, the cable was bad, the brand new adapter didn’t work, the displayport output was broken, etc.
Searching online, I discovered that there is actually a difference between “Active” and “Passive” adapters between Displayport and HDMI, and supposedly sometimes passive adapters just don’t work? But even if my adapter was passive, it still should have worked, since the Displayport outputs on my PC were marked with two ”+” signs, meaning they were DP++ which is supposed to be able to be passively converted to HDMI. But if it’s active, then why wasn’t it working???
 wall of shame
Eventually, I accepted that I had probably just flushed $15 down the toilet (perhaps I shouldn’t have trusted a cable from a company that is mainly known for lightbulbs and toothbrushes) and needed a different solution. Then, I remembered that there was an EE computer lab on campus that had monitors with Displayport, and also spare mice/keyboard I could borrow. So, that’s great! I could take the PC down into the lab, set it up, then take it back to my room. But there was another problem…
Problem 2 - Networking
I wanted to use this PC to host some services, and I also wanted to keep it in my room, which has plenty of ethernet ports. But again, I don’t have a Displayport monitor in my room, so I won’t be able to access it locally, so I’ll need to ssh into it. But SSH requires that I know the PC’s IP address. But my PC’s IP address is assigned dynamically by the school’s DHCP server… And I can’t check the IP when in my room because the displayport to hdmi connector doesn’t work. So it’s like a Catch-22.
I swear this is like the 5th time in my life having to deal with bootstrapping issues like this. I kind of wish PCs had a tiny little display on the motherboard or something that I could use in situations like this. Or, maybe I could jump out a serial connection from the motherboard and wire it to a USB cable… No no no, let’s just try to think of the simplest solution to fix this.
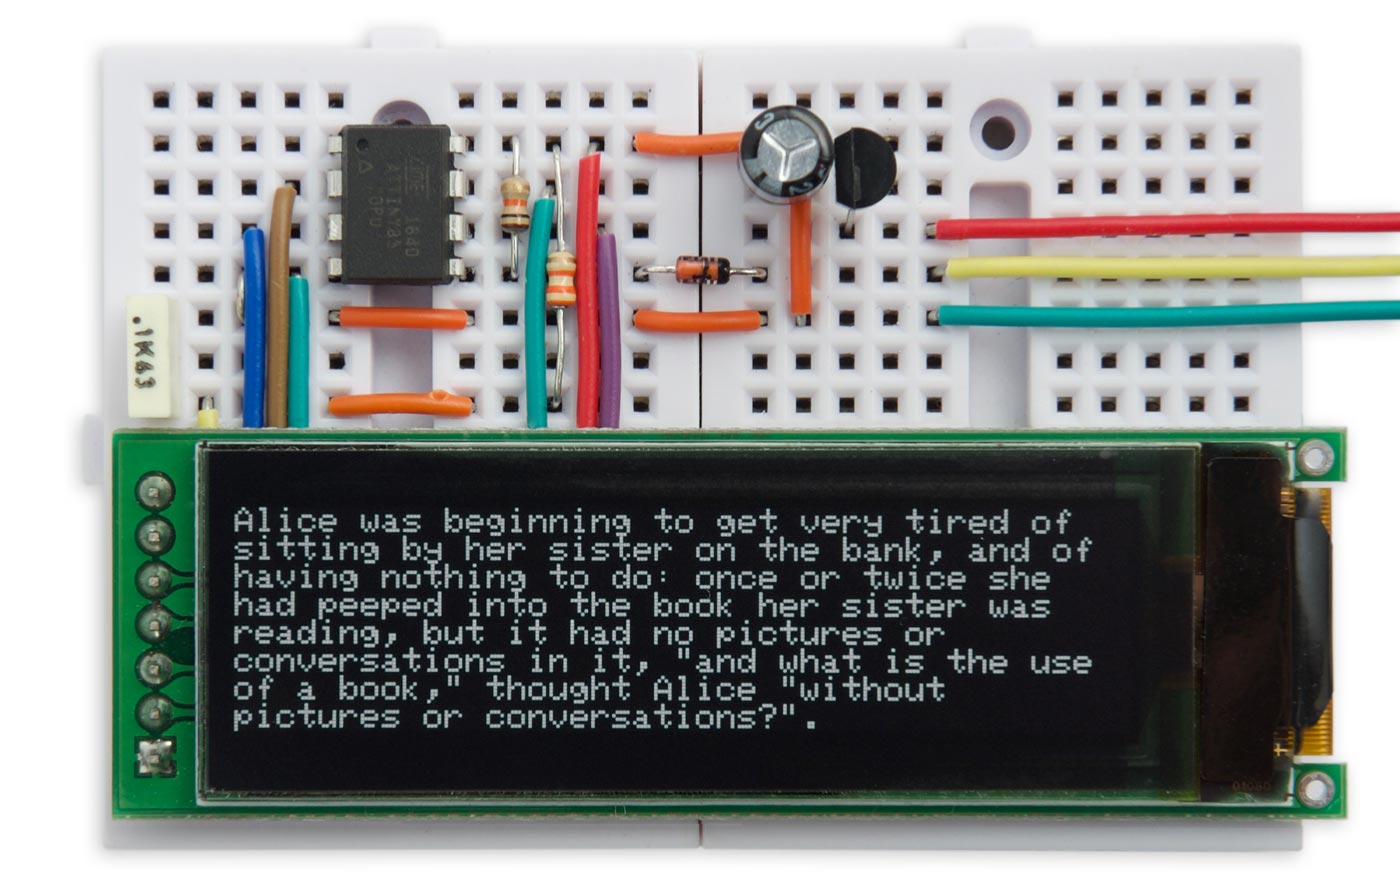 If only I could just plug something like this into the motherboard...
The problem is that I won’t know the PC’s IP address when plugging it into the ethernet port in my room. Maybe there’s a way I can figure out what the IP address will be, though.
I had heard from someone previously that the ethernet ports in the dorms had static, publically addressible IPs.
But the current documentation says that DHCP is used, and different buildings on campus are part of different subnets, with an IP addressing format of AAA.AAA.BBB.CCC, where A is the network, B is the subnet, and C is the host.
But to make sure I wasn’t skipping an easy solution, I simply took two devices in my room with ethernet ports and connected them to the same ethernet port, then checked their IP with ifconfig.
I got something like (addresses obviously altered for security reasons): 123.456.100.42 for one device, and 123.456.100.67 for the other.
I also checked with my roommate, who has their own server for hosting stuff, and their IP also started with 123.456.100.
So the network definitely uses DHCP, and since the different ports in our room are clearly part of the same subnet, I would know almost certainly that the first three components of the IP address would be constant.
Now, if I took my PC down to the lab and set it up there, it would almost surely be assigned an IP on a different subnet, since it’s in a completely different building.
So I wouldn’t be able to note down the IP address, take it back to my room, and try to SSH into it.
But maybe I could install FreeBSD down there, setup up the SSH server, take it back to my room, plug it into the wall, wait for it to start up, and then just scan the 256 IP addresses starting with 123.456.100 for open SSH ports, and try each one until I found my server.
So that’s exactly what I did.
Everything went smoothly (except apparently disabling Secure Boot on HP computers silently fails if there is no BIOS administrator password set, for whatever reason).
I enabled the SSH service in /etc/rc.conf, and also I also set PasswordAuthentication yes in /etc/ssh/sshd_config temporarily just so it would be easier to log in.
I shut down the computer, brought it all the way back to my room, turned it on, waited a good minute to ensure it had booted, and then ran nmap -p 22 123.456.100.0/24.
And one long minute later, a whole bunch of IP addresses popped up.
I tried the first one with an open SSH port and no hostname, and…
$ ssh root@123.456.100.24
root@zack-server's password: █
First try! Now, I’ll just enter the password I set and… uh oh, it didn’t work. Maybe I typed it wrong? I tried again. It still didn’t work.
Well, it turns out there’s a different setting just for allowing root logins through SSH: PermitRootLogin, and I had forgotten to set it.
Oops.
At this point, it was like midnight, and I really didn’t want to go back to the lab just to change a single setting in the SSH config.
So instead, I tried something crazy.
I plugged in a keyboard into the server, closed my eyes, and slowly typed out, character by character, pausing after every line:
↵
↵
↵
root↵
supersecretpassword↵
vi /etc/ssh/sshd_config↵
/PermitRoot↵
ccPermitRootLogin yes<C-c>:wq↵
service ssh restart↵
Then, on my laptop, I tried to SSH in again… and it worked!!!
FreeBSD 15.1-BETA2 (GENERIC) releng/15.1-n283486-b3f9be4f9437

Welcome to FreeBSD!

Release Notes, Errata: https://www.FreeBSD.org/releases/
Security Advisories:   https://www.FreeBSD.org/security/
FreeBSD Handbook:      https://www.FreeBSD.org/handbook/
FreeBSD FAQ:           https://www.FreeBSD.org/faq/
Questions List:        https://www.FreeBSD.org/lists/questions/
FreeBSD Forums:        https://forums.FreeBSD.org/

Documents installed with the system are in the /usr/local/share/doc/freebsd/
directory, or can be installed later with:  pkg install en-freebsd-doc
For other languages, replace "en" with a language code like de or fr.

Show the version of FreeBSD installed:  freebsd-version ; uname -a
Please include that output and any error messages when posting questions.
Introduction to manual pages:  man man
FreeBSD directory layout:      man hier

To change this login announcement, see motd(5).

$ █
I am a god, and there are no limits to my power.
Problem 3 - Networking again
Ok, time to do some setup.
I started installing some packages with pkg and followed along with some of the steps from this blog post.
But something was wrong.
When I ran pkg install, I was getting download speeds of maybe 150 kb/s maximum, sometimes as low as 30 kb/s.
That can’t be right.
Just downloading a large file with wget was way faster.
I ran pkg install speedtest-cli, which was agonizingly slow, and then ran speedtest-cli to see… 20 Mbps down and 100 Mpbs up.
That seems much more reasonable.
The ifconfig output didn’t seem very much out of the ordinary.
Running pciconf -lv shows that my Ethernet device is a I219-LM which should be supported.
Yet when I run something like pkg install lazygit, it takes like 3 minutes just to download 20 MB of data.
Some searching seems to show that pkg installing slowly seems to be a documented issue?
Some people claim that the community-run mirrors are just underfunded and slow?
Or maybe there’s a difference between downloading over http vs https?
Or maybe the geolocation-based CDN just isn’t working?
I installed ports-mgmt/fastest_pkg to see which mirror would achieve the fastest speed, which took agonizingly long since it requires Python, which pulls in like 200 MB, and the best mirror it found only achieved speeds of about 80 KB/s.
Why?? 😭😭
All this effort, just to be hit with something that seems completely out of my control.
I tried random other things to fix this for like another 2 hours.
At this point, I was ready to go back to the lab and just install Linux instead.
But eventually, I started asking some LLMs to help try to debug this issue, and I ran some more commands.
There weren’t any strange errors shown by dmesg | grep em0.
And netstat -i showed something mostly reasonable?
ame    Mtu Network           Address                    Ipkts Ierrs Idrop    Opkts Oerrs  Coll
em0    1500 <Link#1>         <MY_MAC_ADDRESS>         1040516  1424     0   609995     0     0
So there are no dropped packets, but there are a few packet errors…
I really hoped this wasn’t a driver issue.
But Gemini suggested: “Likely Causes: This is frequently caused by a slightly faulty Ethernet cable, electromagnetic interference, or a minor mismatch with the switch port rather than the FreeBSD driver itself”.
Ok, well I guess there’s one thing left to try.
I ducked under my desk, and wiggled the Ethernet cable around.
It felt pretty stable, so I didn’t think it would fix anything.
I restarted the computer, ran speedtest-cli again, and…
Retrieving speedtest.net configuration...
Testing from California Institute of Technology (123.456.100.24)...
Retrieving speedtest.net server list...
Selecting best server based on ping...
Hosted by Nitel (Los Angeles, CA) [10.74 km]: 2.318 ms
Testing download speed.........................................................
Download: 838.22 Mbit/s
Testing upload speed...........................................................
Upload: 849.15 Mbit/s
Oh.
So it is a gigabit link after all.
I tried pkg install llvm, and it downloaded 280 MB in about 2 seconds.
And netstat -i now showed zero packet errors and zero packet drops.
 my reaction
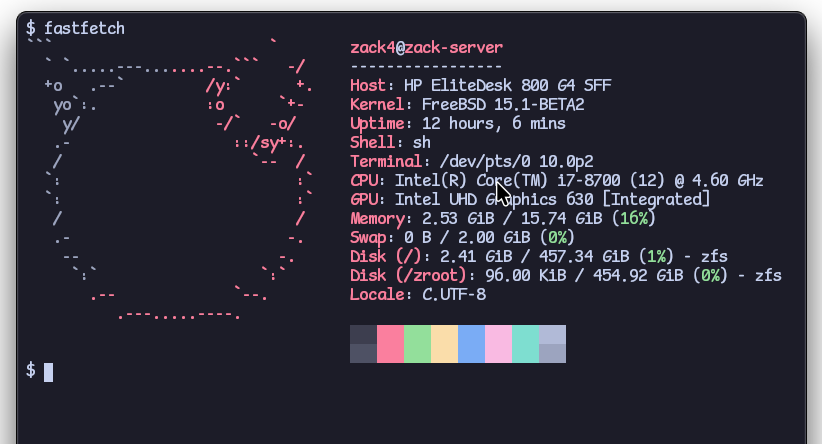
I disabled SSH password authentication, set up a user account, dropped in my SSH public key, and installed fish and a bunch of other stuff. Now I can finally do the stuff I was actually planning on doing.
Postmortem
 yippee
TLDR: always make sure your ethernet cables are plugged in and stable. Also don’t buy cables from Philips.


Zachary W. Huang © 2021-2026